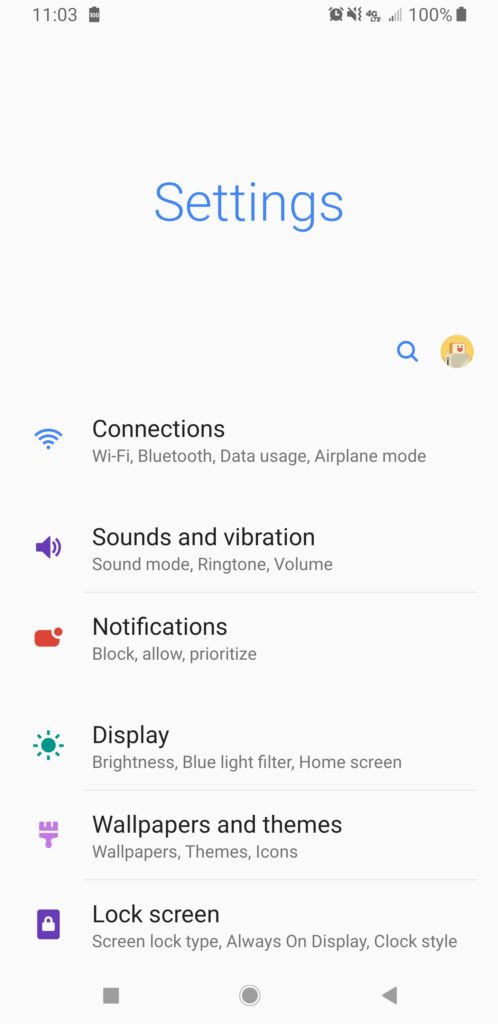
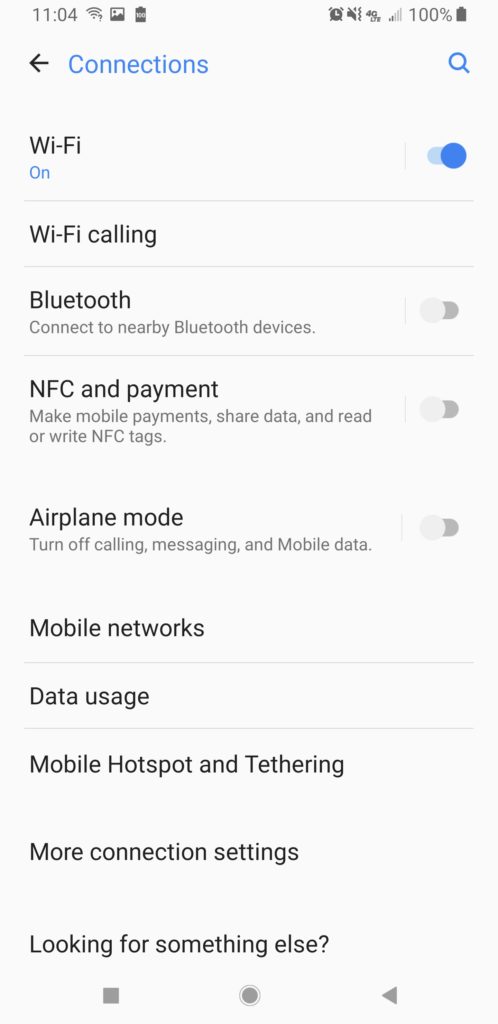
- Go to Settings. Select Connections.
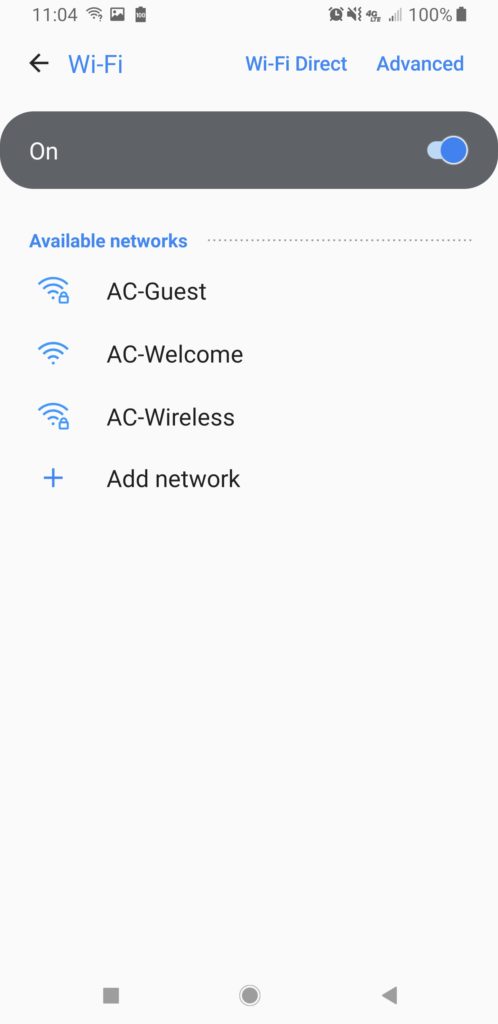
- Select Wi-Fi.
- Select AC-Students (or AC-Employees for employees)
- After selecting the network, an advanced configuration menu will pop up.
- Enter PEAP for the EAP method.
- Enter MSCHAPv2 for the Phase 2 authentication.
- Enter your username under Identity and your password under Password.
- Leave everything else as the default. Note that some Android devices may need to have the “CA Certificate” field changed to “Do not validate”.
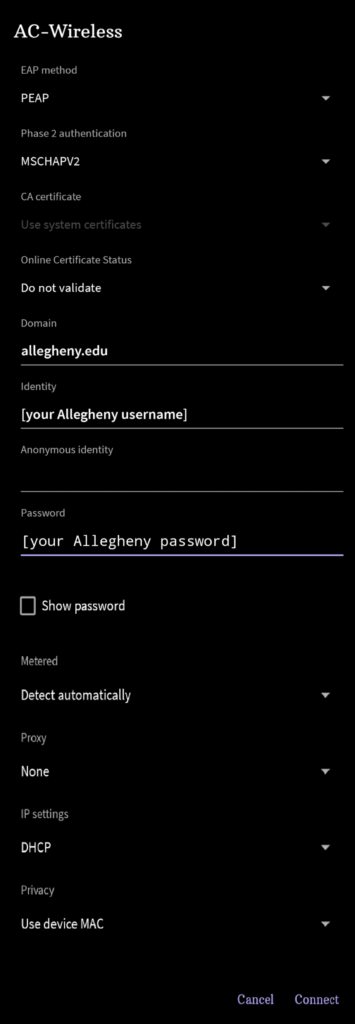
- Note that you may need to open the Advanced settings to see all of those listed above.
- Under Privacy, choose Use device MAC (on some devices, this is listed as Use phone MAC or similar phrasing).
- Some Android devices will ask you to enter a domain. If yours does, enter allegheny.edu as the domain.
- Click Connect at the bottom of the configuration dialog.
- Your device should then automatically connect to wireless network.
Note
Android devices older than version 7.1.1 will no longer be able to connect to the wireless network.