What are groups in Artstor and why would you want to use them?
Groups allow any Artstor users to create sets of items to share, export, and add descriptive information. There are two kinds of groups: Private or Institutional (within Allegheny College).
How to create groups in Artstor
- To create a group, you first need to log in to Artstor. To log into Artstor, go to Databases A-Z on the LITS website and select the Artstor link. If you are signed in properly, you should see your email address in the top right corner of Artstor.
- To view your existing groups, select Groups from the Browse menu.
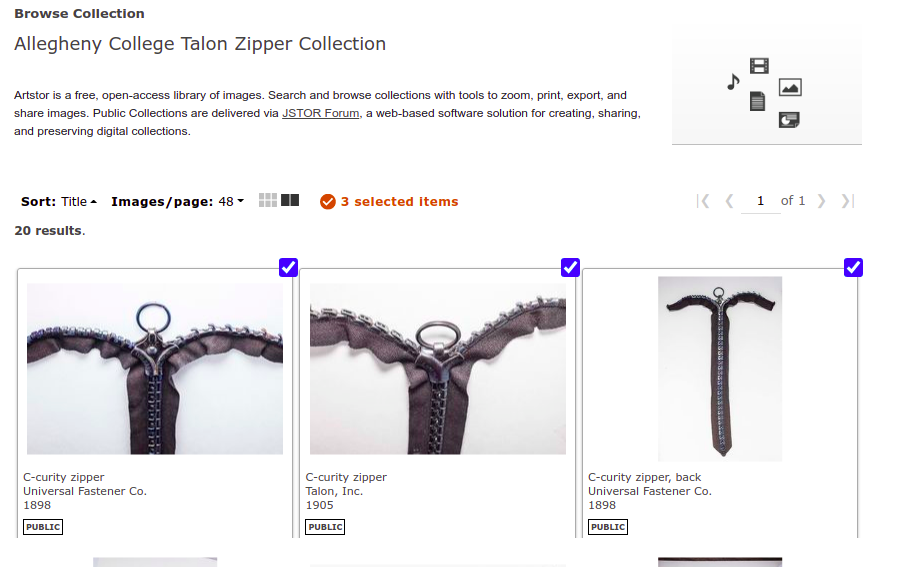
- If you haven’t created any groups yet, go to a collection to select items for your new group. To select items for your new group, hover over the top right corner to select (on a desktop) or tap the checkbox (on mobile) to select items.
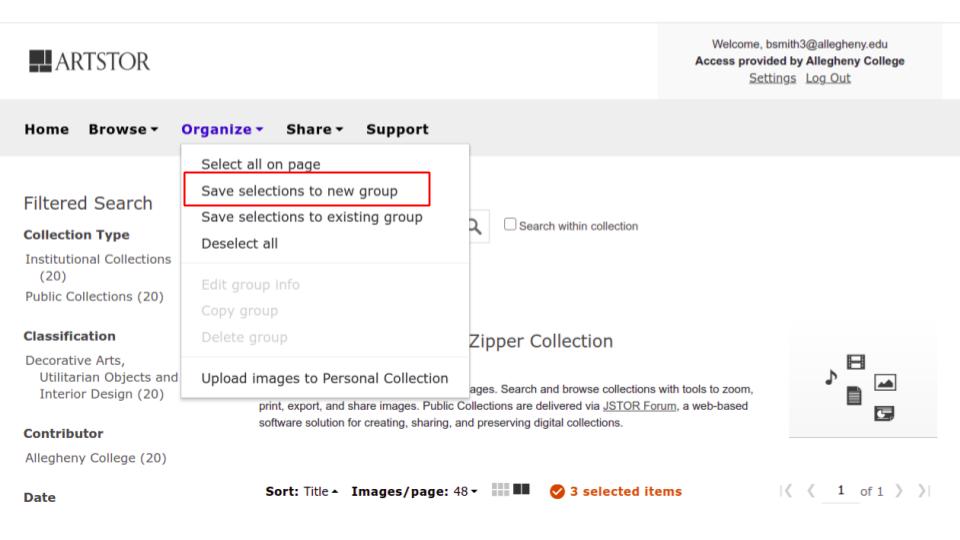
- After you have select the items you want to add to your group, go to the Organize menu item and select “Save Selections to a New Group”.
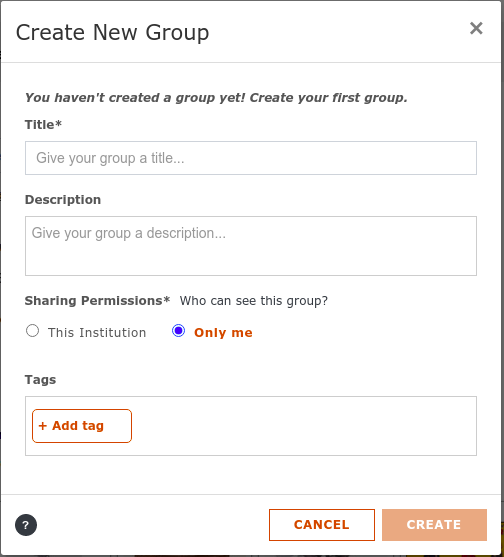
- Finally, complete the Create New Group form to complete your new group. Title and sharing permissions are required. You can add an optional description or subject tabs.